

To set up a VPN connection on Ubuntu, install/update the Network Manager plugin for OpenVPN if it was not already installed on the system. Launch the terminal "Ctrl+Alt+T" and run the following command in it:
sudo apt-get install network-manager-OpenVPN-gnome
And confirm the installation of the package and dependencies with the "Y":

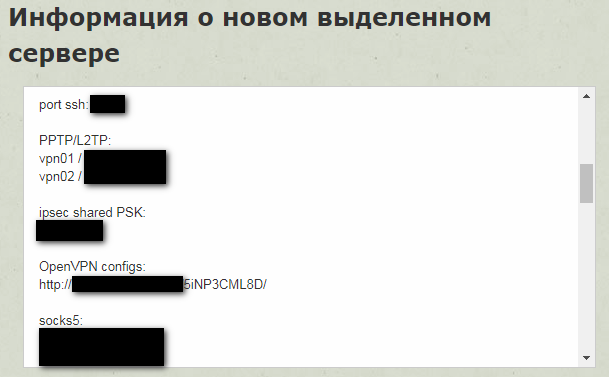
After that, download the file with the OpenVPN configuration (client**-tcp.ovpn or client**-udp.ovpn) to your device using the link http://XX.XX.XX.XX:XXXX/mS84McHrsn/ that you received to email when activating the service (the message is also available at the link https://my.hostetski.com/billing.php?do=maillogs in your account):" if this package has not been installed in the system before:
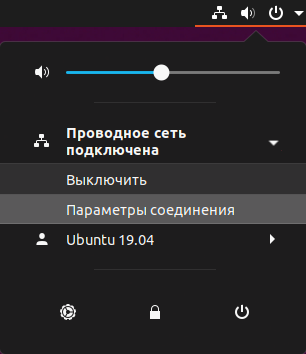
Next, import the downloaded configuration: open the network connection settings in the upper right corner of the desktop and click "Connection settings":
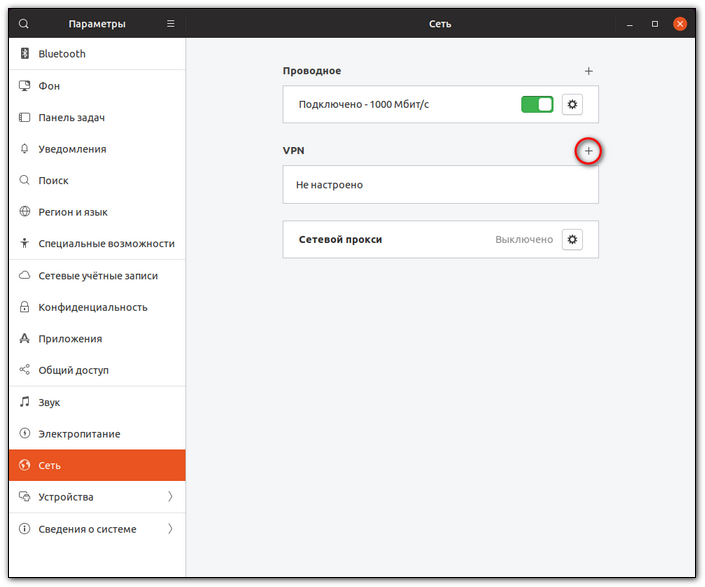
In the window that opens, click "+" to add a new VPN configuration:
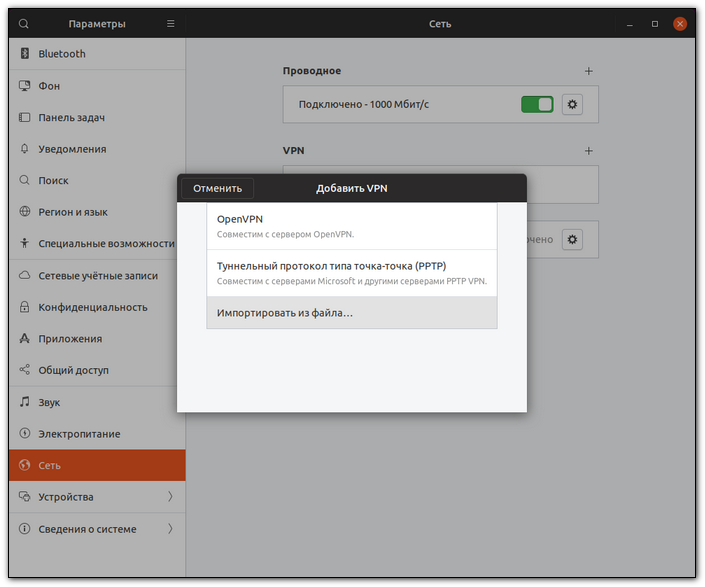
Select "Import from file":
Select the previously saved configuration file client**-tcp.ovpn or client**-udp.ovpn:

If the import is successful, you will see the following screen. Enter the name of the connection, for example, "Hostetski:) VPN," and click "Add" to save the created VPN connection:

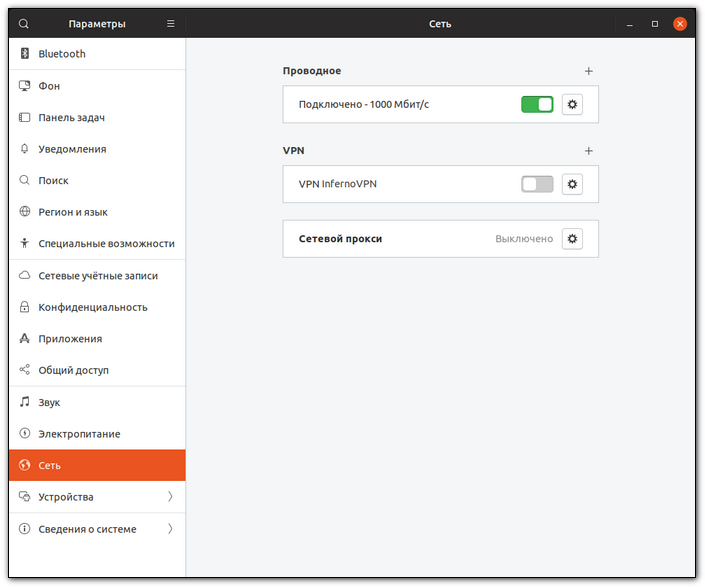
VPN connection successfully configured:
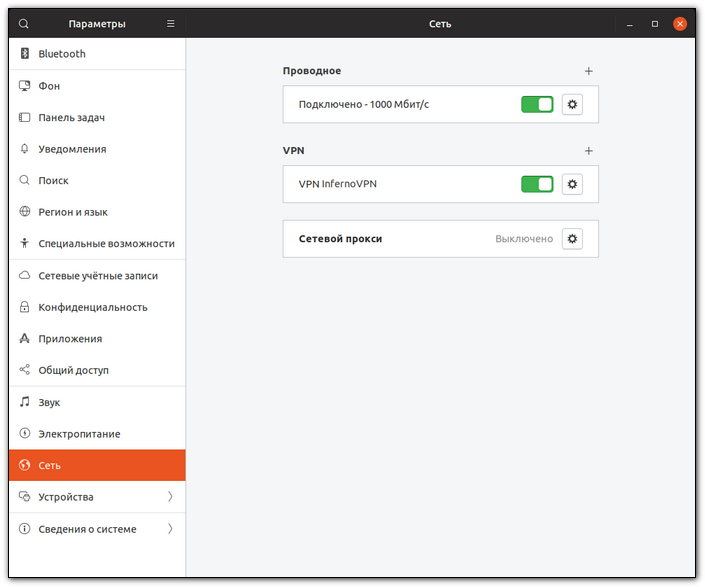
To connect, move the switch to the right:
You can also quickly connect to a VPN by clicking in the upper right corner of the desktop, in the menu that opens "VPN connection" and "Connect":

If the connection is successful, you will see the "VPN" icon in the top status bar:

If you have additional questions, you can use our ticket system.
We've been working for 4 years 8 months 27 days
