

To set up an L2TP/IPsec VPN connection on Ubuntu, you must install the L2TP dependencies. To do this, open the terminal by pressing "CTRL + ALT + T" and enter the following commands one by one:
sudo apt-get update
sudo apt-get install network-manager-l2tp
sudo apt-get install network-manager-l2tp-gnome
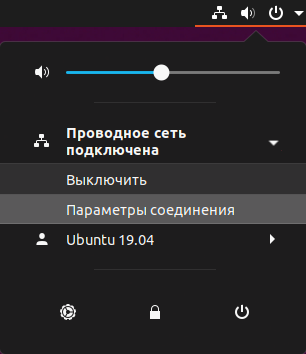
Next, open the network connection settings in the upper right corner of the desktop and click "Connection Settings":
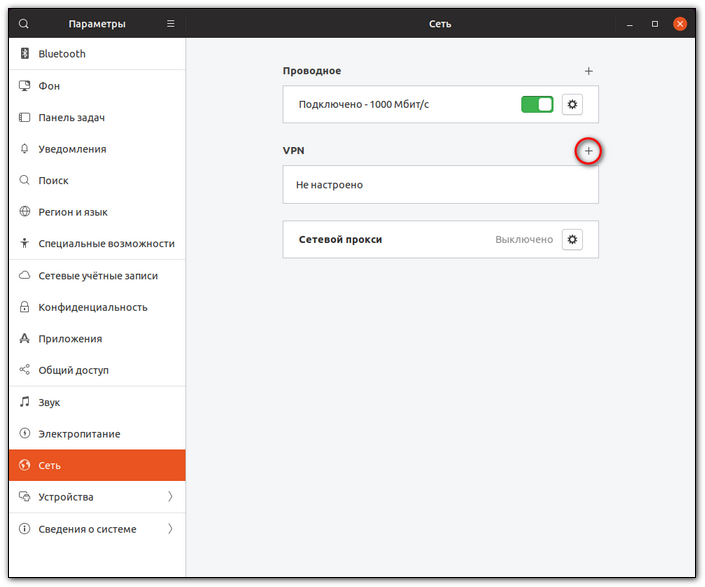
In the window that opens, click "+" to add a new VPN configuration:
Select "Layer 2 Tunneling Protocol (L2TP)":

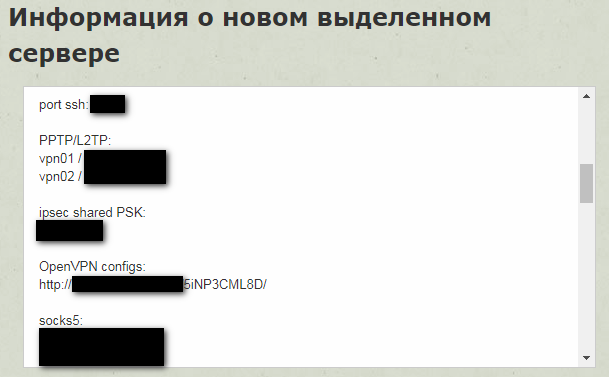
On the next screen, enter the VPN connection parameters: in the "Name" field, enter any name for the connection, for example, "Hostetski:) VPN"; in the "Gateway" field - the server address (VPS), "Username," and "Password" from the message, which you received by email when activating the service (the message is also available at the link https://my.hostetski.com/billing.php?do=maillogs in your account):
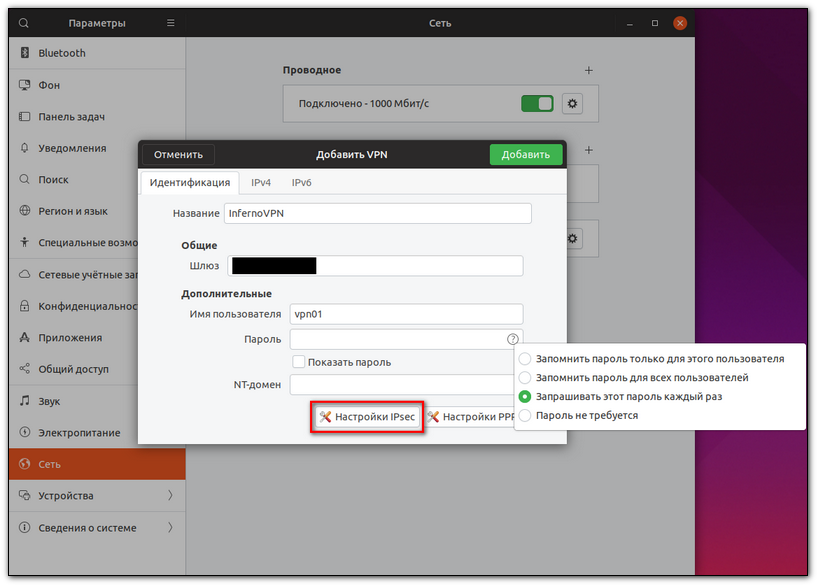
To enter a password, click on the question mark at the end of the "Password" field and select "Remember password for this user only" or "Remember password for all users" otherwise, you will be required to enter the password every time you connect to the VPN. Then click "IPsec Settings":
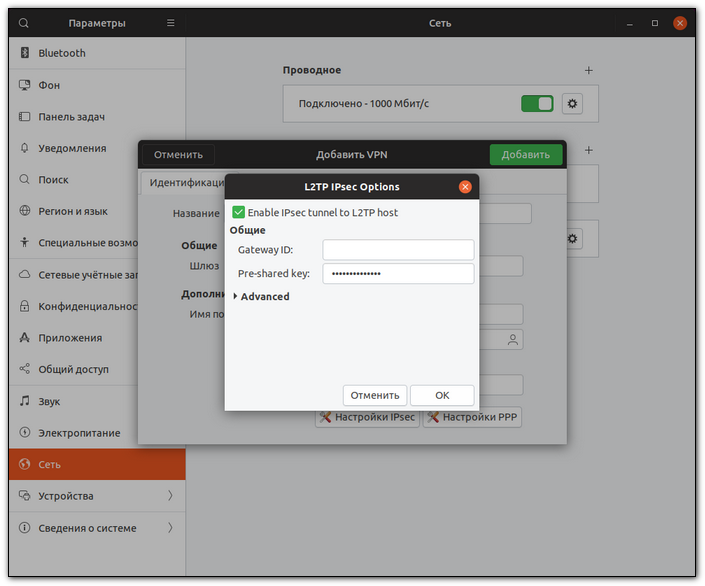
In the window that opens, enter ipsec shared PSK from the message received after server activation in the "Pre-shared key" field and click "OK":
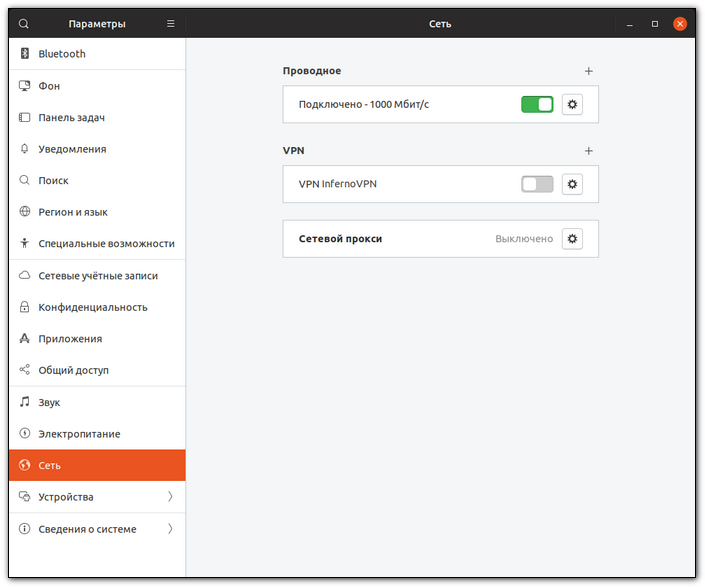
Click "Add" to save the created VPN connection. VPN connection successfully configured:
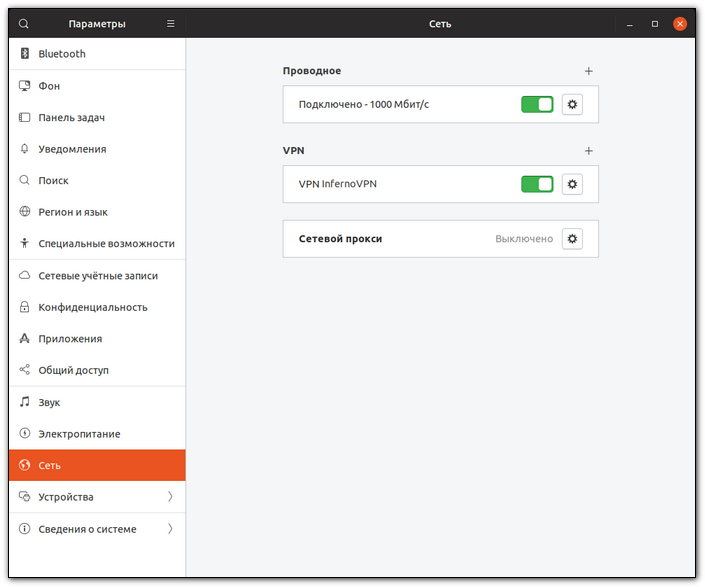
To connect, move the switch to the right:
You can also quickly connect to a VPN by clicking in the upper right corner of the desktop, in the menu that opens "VPN connection" and "Connect":

If the connection is successful, you will see the "VPN" icon in the top status bar:

If you have additional questions, you can use our ticket system.
We've been working for 4 years 8 months 27 days
