

To connect to OpenVPN on a macOS device, use the Tunnelblick program, which can be downloaded from the link - https://tunnelblick.net/downloads.html (download the Stable version).
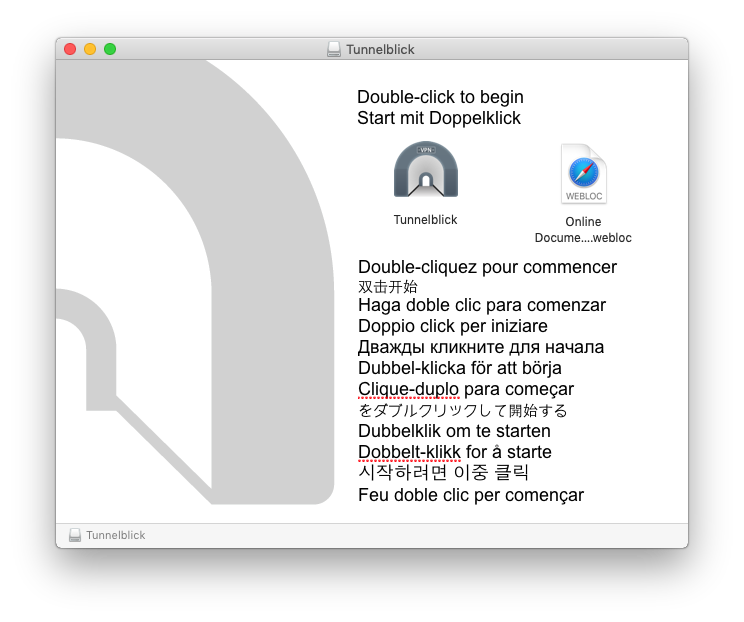
After the download is complete, open the container and run the application by double-clicking on its icon:
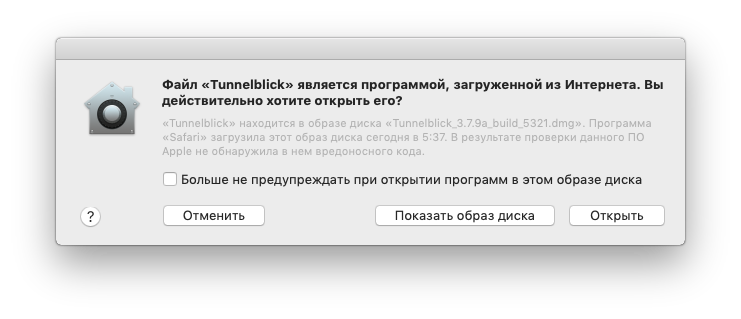
On the next window, click "Open":
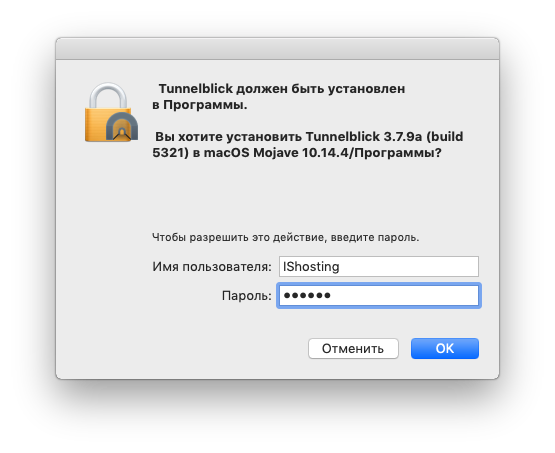
Allow the app to be installed by entering your macOS password:
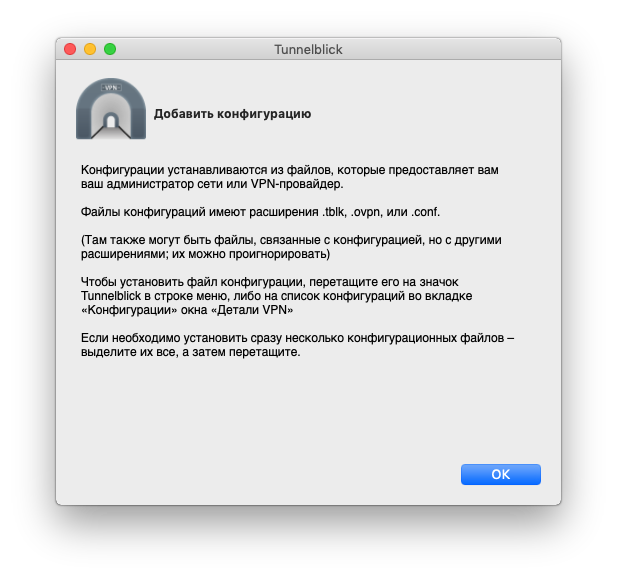
Click "I have config files":
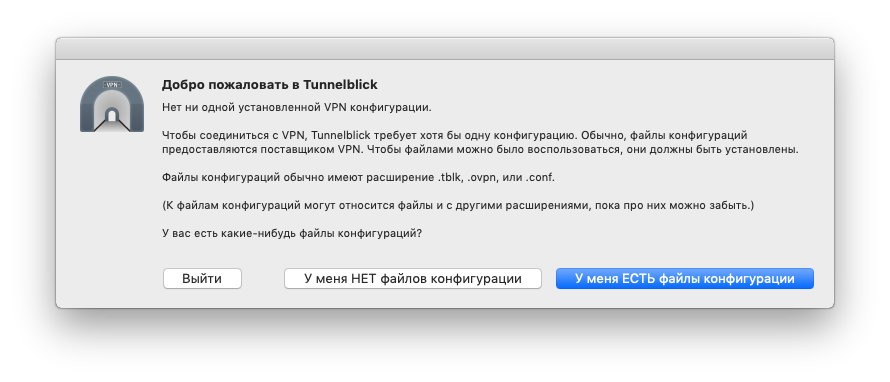
Once the installation is complete, you will see information on how to add your OpenVPN configuration file to Tunnelblick:
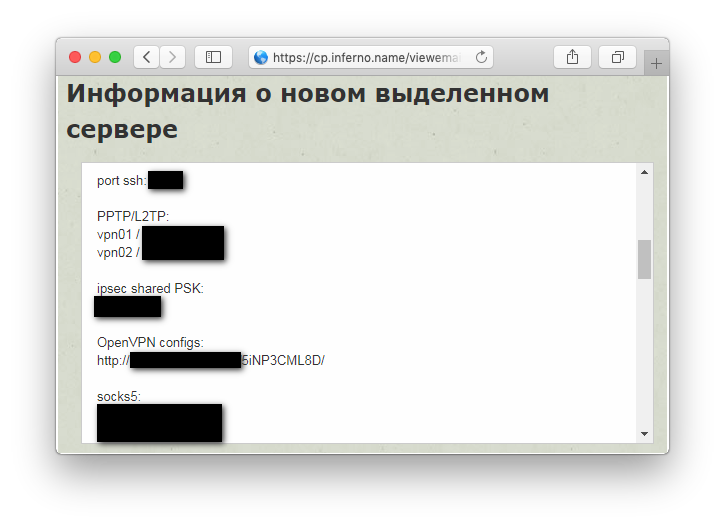
Download the OpenVPN (UDP/TCP) configuration file from the link http://XX.XX.XX.XX:XXXX/mS84McHrsn/ that you received by email when activating the service (the message is also available via the link https://my.hostetski.com/billing.php?do=maillogs in your account):
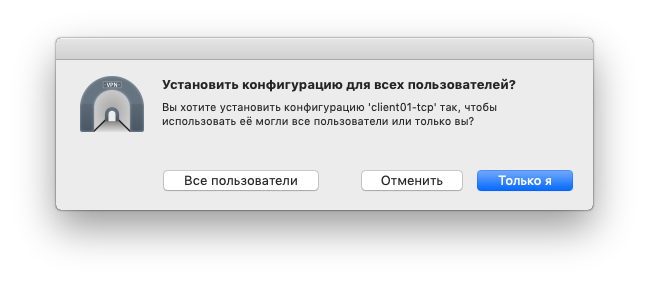
Double-click the downloaded configuration file or drag and drop it to the Tunnelblick app icon. In the window that opens, select the installation of the configuration only for yourself by clicking on the "Only me" button:
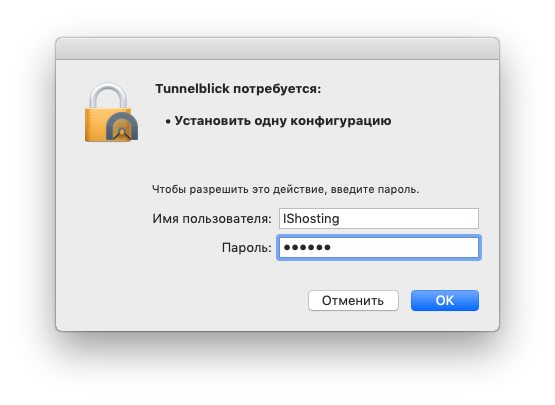
In the next window, enter your macOS password again to allow the installation of the VPN configuration:
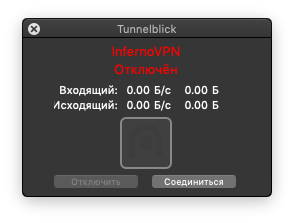
You can now connect to the newly added OpenVPN account by clicking "Connect" in Tunnelblick. If the connection is successful, you will see the result "CONNECTED, SUCCESS" and a message about changing the external IP address of your device to the IP address of the VPN server:

You can also right-click on the Tunnelblick icon on the top bar of macOS and then click "Connect":
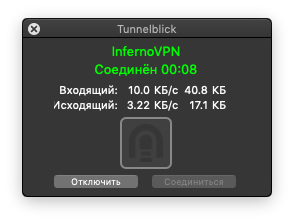
If the connection is successful, you will see the following window where you can track the connection statistics:
If you have additional questions, you can use our ticket system.
We've been working for 4 years 8 months 27 days
