

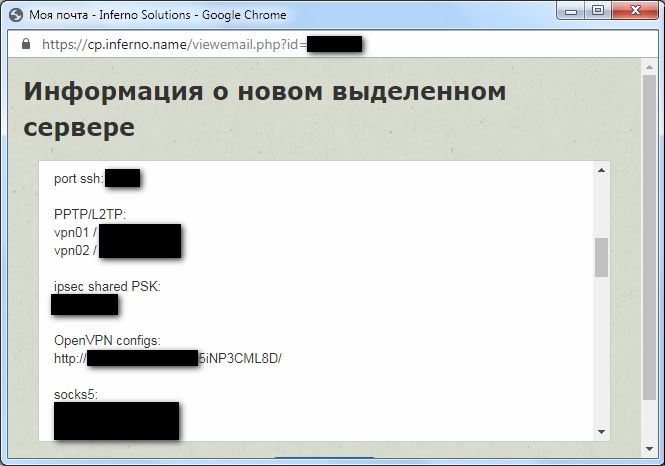
To configure OpenVPN, download the latest version of the OpenVPN application from the link https://openvpn.net/index.php/open-source/downloads.html and the file with the OpenVPN configuration (UDP/TCP) from the link like http://XX.XX. XX.XX:XXXX/mS84McHrsn/ that you received by email when activating the service (the message is also available at the link https://my.hostetski.com/billing.php?do=maillogs in your account):
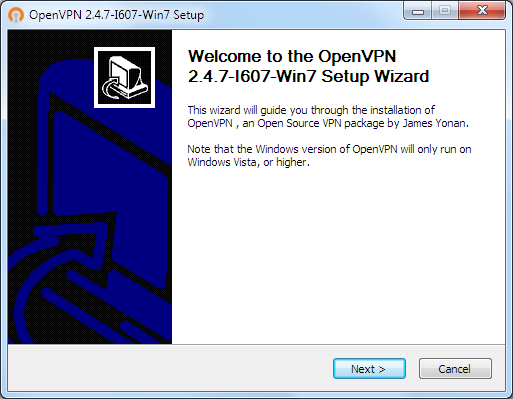
Install the latest version of the OpenVPN application on the computer (Client). The default settings do not need to be changed:

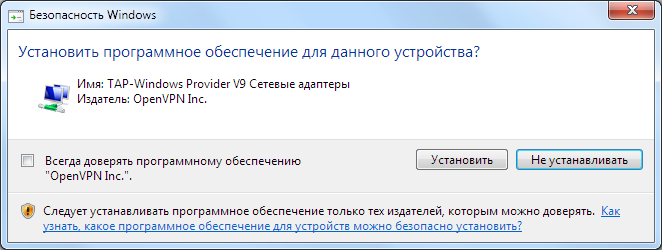
Agree to install the additional driver:

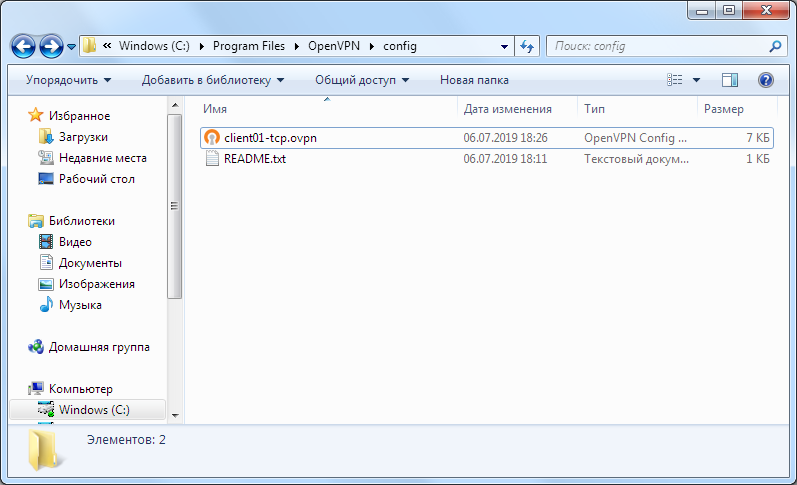
After completing the installation, copy the Client**.ovpn file to the program installation folder. The default path is "C:Program FilesOpenVPNconfig":
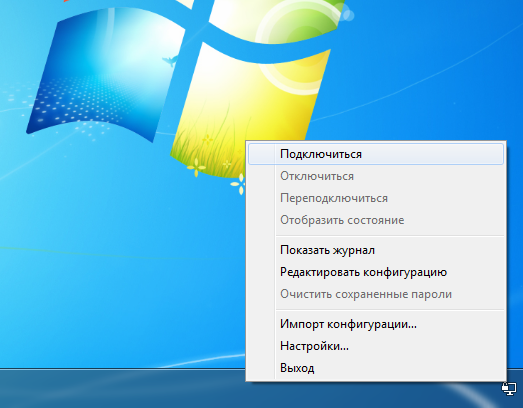
Launch the OpenVPN application and by right-clicking on the application icon on the Windows taskbar, click "Connect":
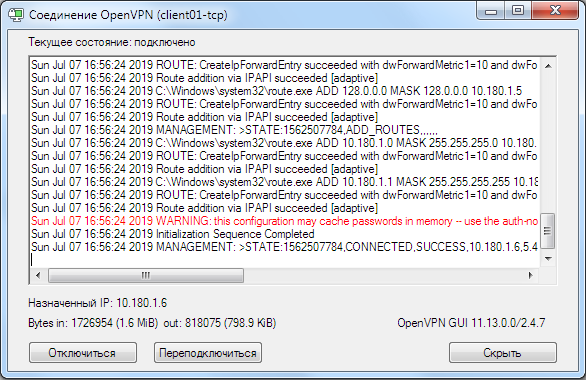
In case of a successful connection, you will see the result "CONNECTED, SUCCESS" in the bottom line:
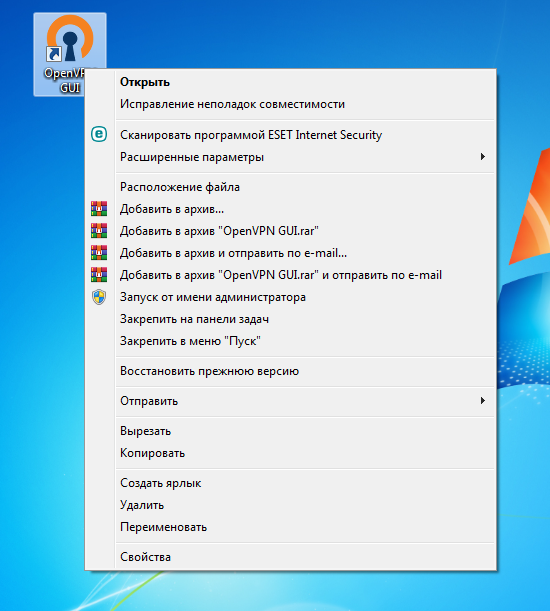
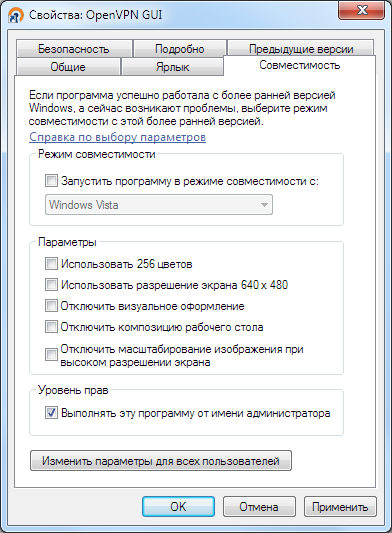
To avoid problems with the launch and operation of OpenVPN, we strongly recommend running the application as an administrator. To do this, by right-clicking on the application shortcut, in the properties of the shortcut on the "Compatibility" tab, check the box "Run this program as an administrator":
IMPORTANT! To fix DNS leaks, follow these 2 steps:
Use the latest version of the OpenVPN application (if necessary, update via the link https://openvpn.net/community-downloads/)
Add the block-outside-DNS line to the connection config.
If you have additional questions, you can use our ticket system.
We've been working for 4 years 8 months 27 days
