

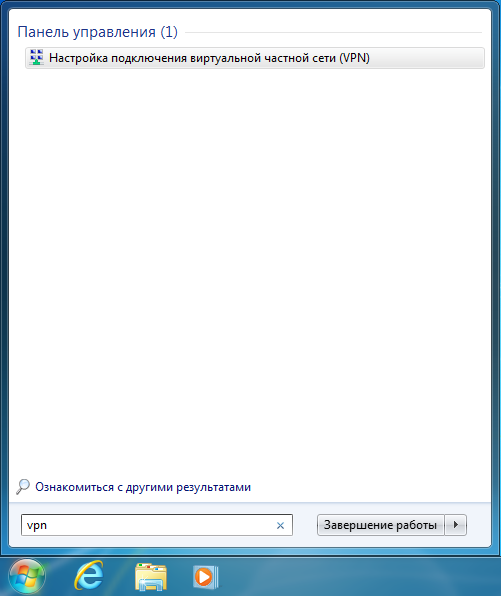
Click on the "Start" button in the search bar, type "VPN," and select "Set up a virtual private network (VPN) connection":
Specify the "Internet address" that you received by email in the message after activating the service. This IP address is the "VPN Server" to which you connect.
In the "Destination name" field, enter any name for the connection, such as Hostetski:). Also, check the "Do not connect now" box, as shown in the screenshot:

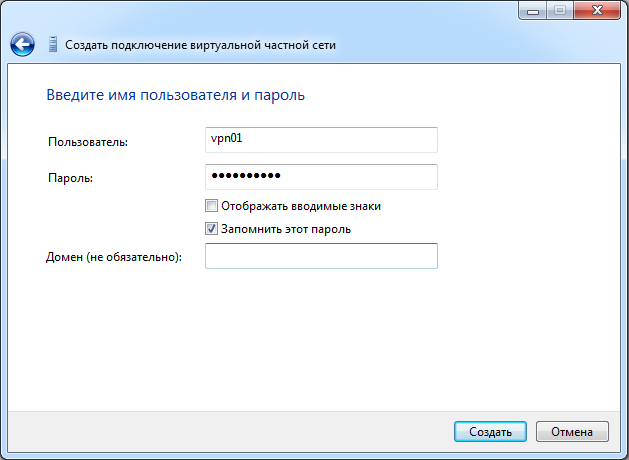
Enter the PPTP/L2TP username and password that you received by email in the message after service activation (the message is also available at the link https://my.hostetski.com/billing.php?do=maillogs in your account):

Click the "Remember password" checkbox if you do not want to enter the password again every time you connect:
In the next step, you will be prompted to connect; click "Close" as the settings are not yet complete:

After that, change the newly created VPN connection settings to work over L2TP/IPsec.
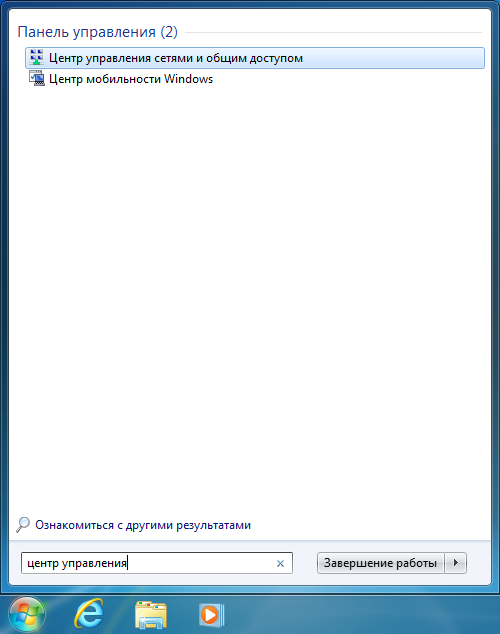
To do this, click the "Start" button, and in the search bar, type "Control Center" and run the "Network and Sharing Center":
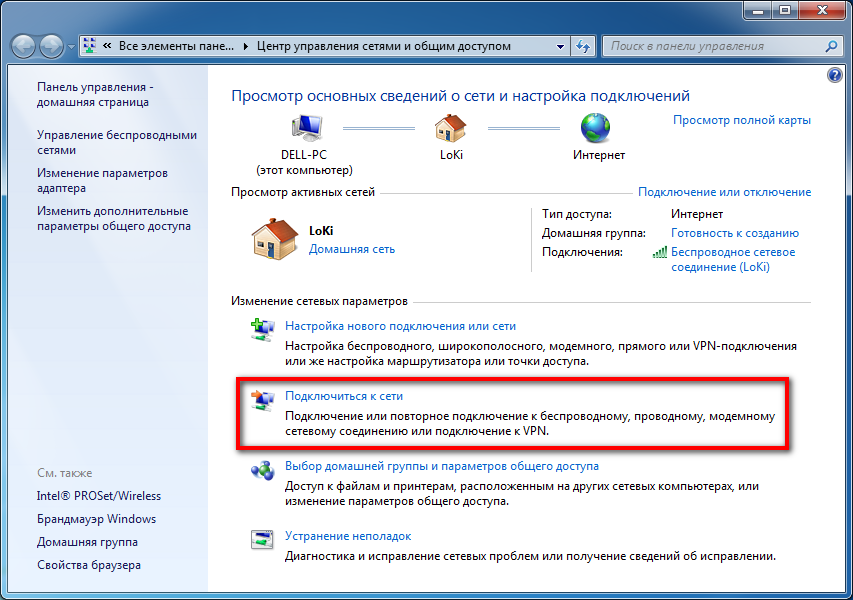
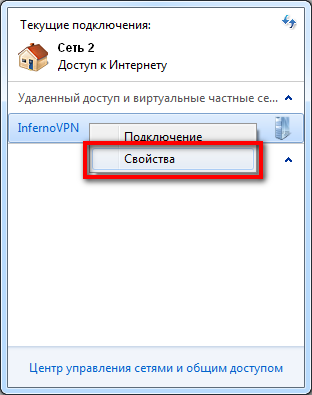
Select "Connect to a network":
Right-click on the created VPN connection and click on "System Properties":
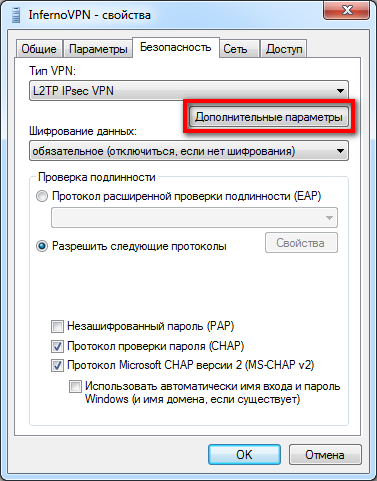
In the "Security" tab in the "VPN Type" menu, select - "L2TP IPsec VPN" and click "Advanced Settings":
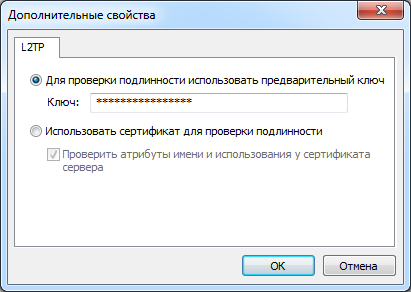
Select the item "Use a pre-shared key for authentication," and in the "Key" field, enter the ipsec shared PSK you received by email in the message when you activated the service:
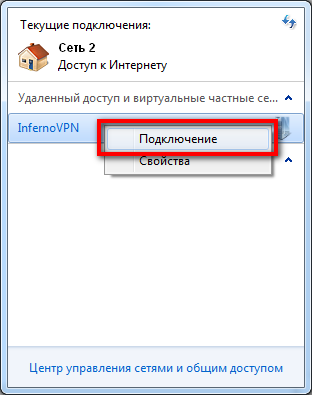
Congratulations, you can now successfully connect to the VPN server!
If you have additional questions, you can use our ticket system.
We've been working for 4 years 8 months 27 days
